
Calendar accounts and settings
There are several settings in Settings > Mail, Contacts, Calendars that affect Calendar and your
calendar accounts.
Calendar accounts are also used to sync to-do items for Reminders.
Add a CalDAV account: Go to Settings > Mail, Contacts, Calendars, tap Add an Account, then tap
Other. Under Calendars, tap Add CalDAV Account.
These options apply to all of your calendars:
Set the calendar alert tones
Go to Settings > Sounds > Calendar Alerts.
Sync past events
Go to Settings > Mail, Contacts, Calendars > Sync, then choose time period.
Future events are always synced.
Set alerts to sound when you
receive a meeting invitation
Go to Settings > Mail, Contacts, Calendars and turn on New Invitation Alerts.
Turn on Calendar time zone
support
Go to Settings > Mail, Contacts, Calendars > Time Zone Support.
Set a default calendar
Go to Settings > Mail, Contacts, Calendars > Default Calendar.
Use iCloud to keep Calendar
up-to-date on your iOS devices
and computers
Go to Settings > iCloud, then turn on Calendar. See “iCloud” on page 16.
Important:
When Time Zone Support is on, Calendar displays event dates and times in the time
zone of the city you selected. When Time Zone Support is off, Calendar displays events in the time
zone of your current location as determined by the network time. Some carriers don’t support
network time in all areas. When you travel, iPhone may not display events or sound alerts at the
correct local time. To manually set the correct time, see “Date & Time” on page 167.
87
Chapter 10
Calendar
Photos
11
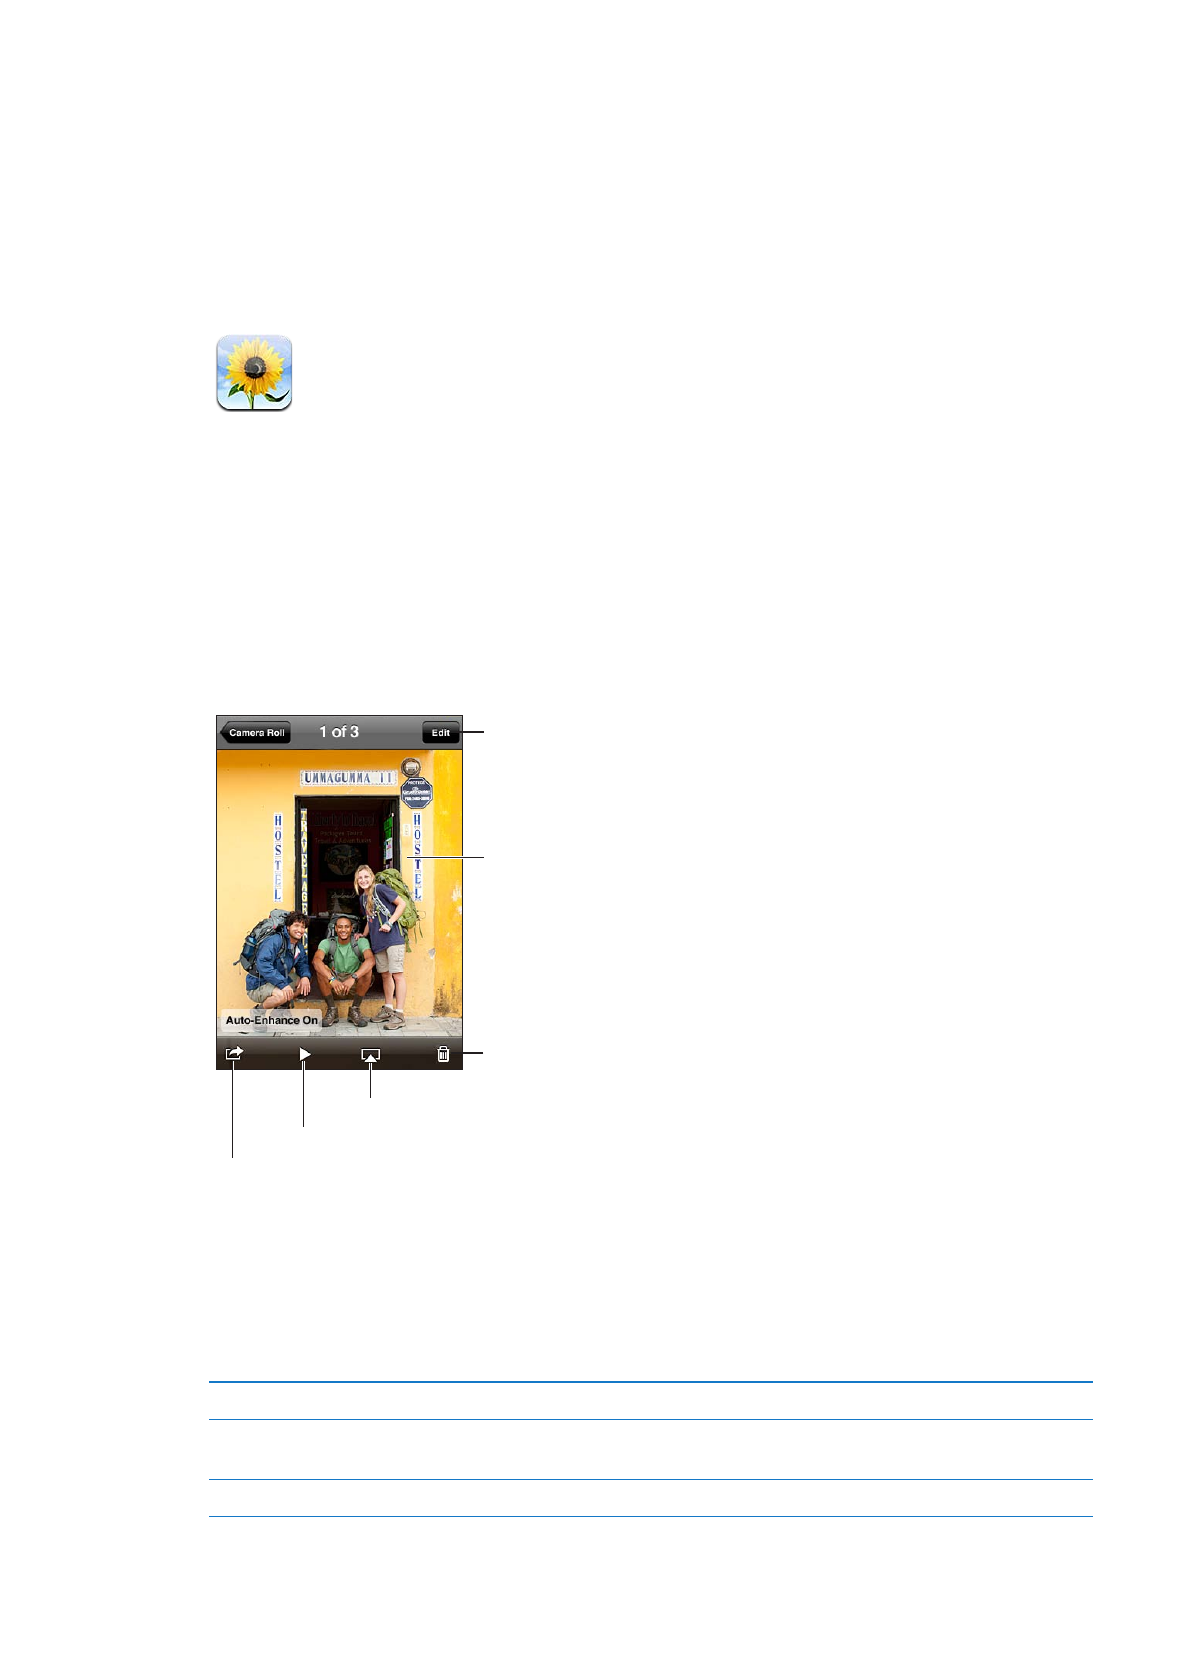
Viewing photos and videos
Photos lets you view photos and videos on iPhone, in your:
Camera Roll album—photos and videos you took with either of the built-in cameras, or saved
Â
from an email, text message, or webpage
Photo Stream album—photos streamed from iCloud (see “
Â
Photo Stream” on page 94)
Photo Library and other albums synced from your computer (see “
Â
Syncing with iTunes” on
page 18)
Edit the photo.